rib WRANGLING
|
This page describes the effort to construct, shade and render a scene using only a text editor in combination with Renderman. Below is a compilation of renders taken while in progress.
|
/ Renderman SHADING LANGUAGE
|
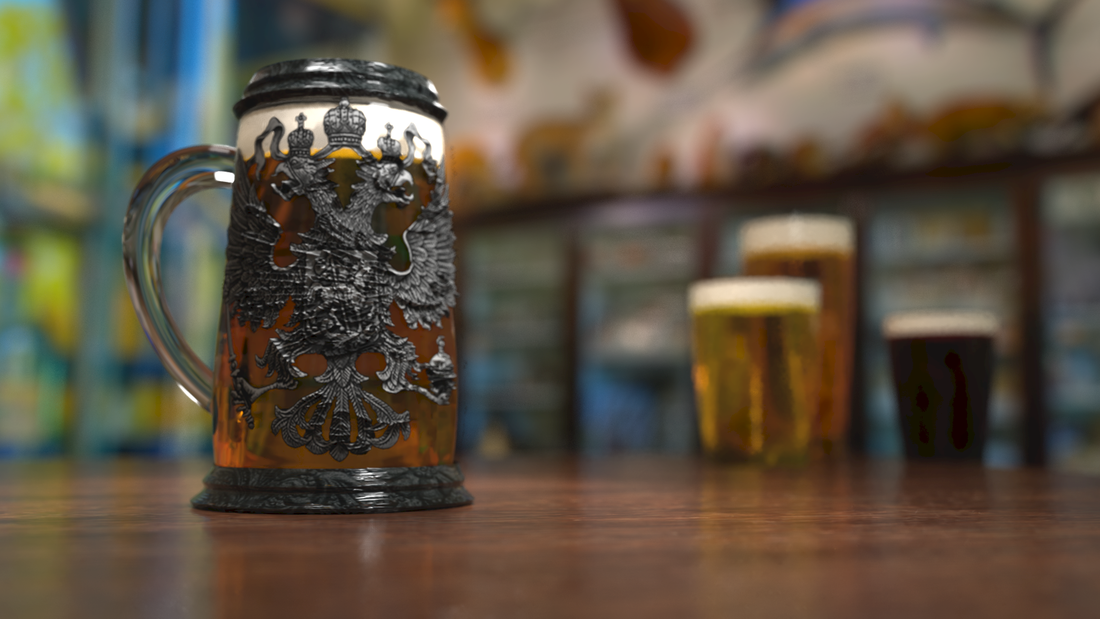
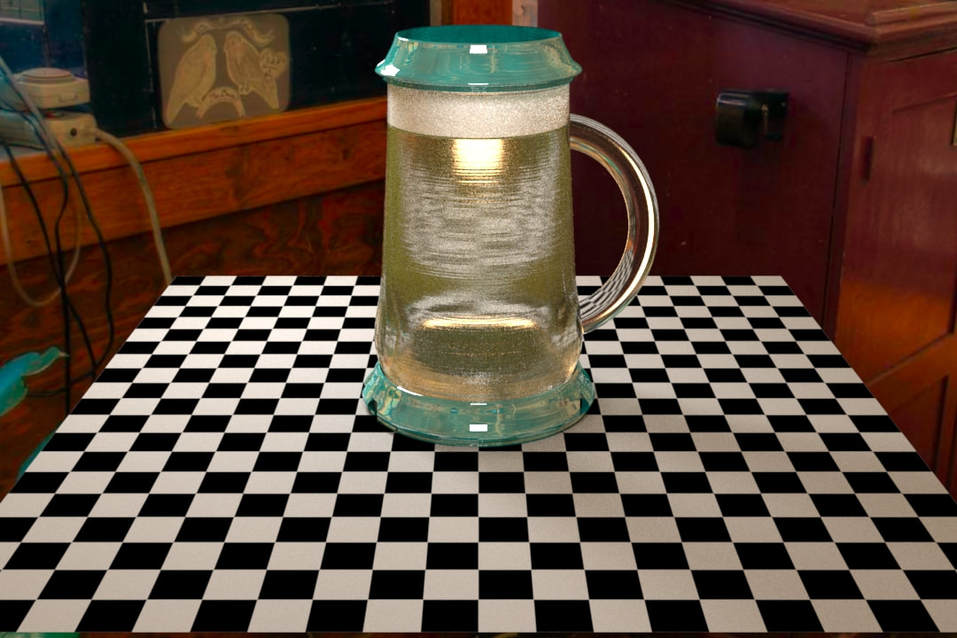
final output
|
Renderman provides a set of basic shapes that can be used to create and manipulate more complex objects. This is accomplished by using only text values entered in a rib file that interprets the values and creates shapes. I took a slightly different approached based on an early idea proposed by Professor Kesson to create the base shapes from gradient ramps created in Photoshop or AfterEffects in combination with the PxrpDisplace node. Other challenges included how to apply additional displacement on top of the base displacement, while at the same time applying the Presence to cut out areas of the texture maps.
|
BReaKDOWN
Summary of techniques, methods and challenges encountered while creating this shot.
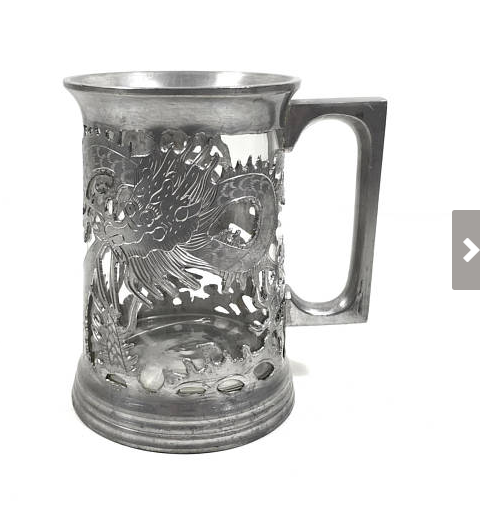
Inspiration
For this project, I decided to attempt to create an antique style beer mug because I was interested in the challenge of working with multiple layers of transparency, displacement, and refraction.

Creating the base shape
Figure 1
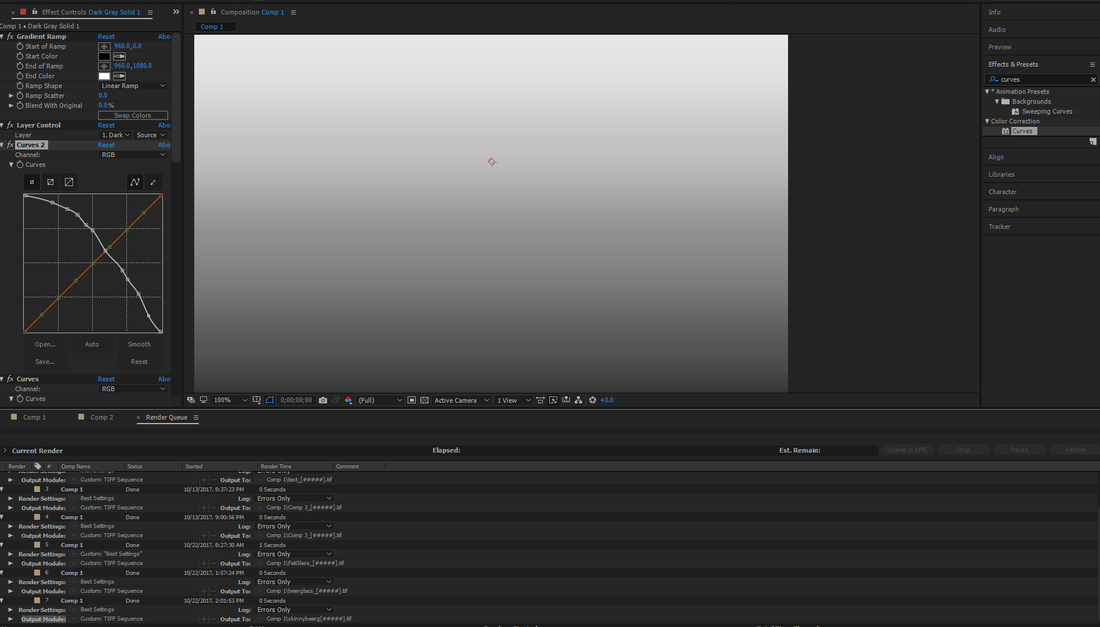
The concept was to use a gradient ramp to apply displacement to the cylinder to form the base shape of the first beer mug. Initially, we used Photoshop but soon realized it would be labor intensive to iterate through multiple versions, so we were tasked with finding a method to adjust the gradient ramp with an adjustable spline so we could rapidly test various versions. Luckily, a classmate found a method to achieve this in AfterEffects, using a constant combined with a color adjustment curve.
Once I had the basic shape I had to create an inner and outer surface to simulate the refraction of the glass. This was achieved by flipping the normals on the inner surface. The next challenge was to create the fluid (beer) and ensure realistic refraction. This was done by inserting another cylinder with the normals pointing outward and a refraction index of 1.33, with the color in the refraction rather than the RGB.
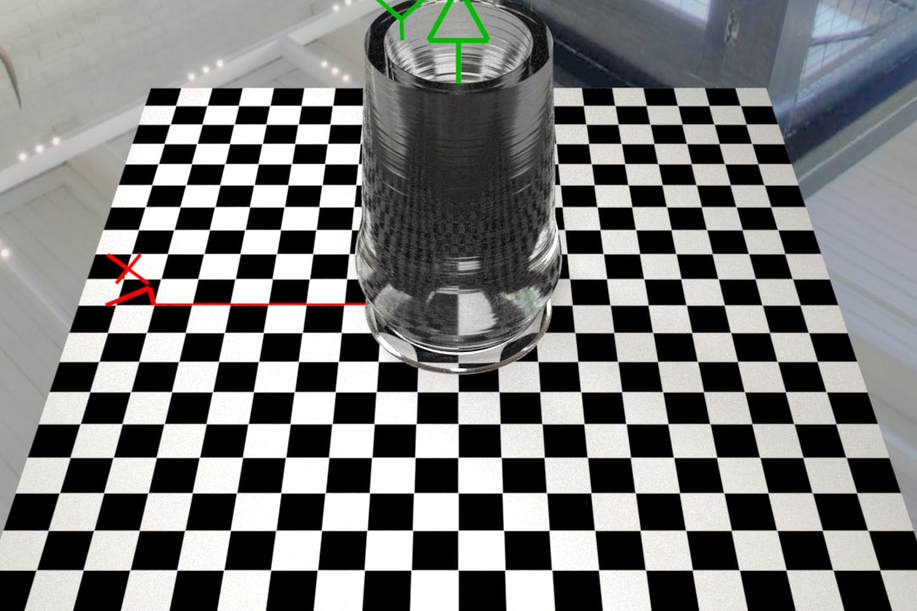
The image below shows the result of adding the inner cylinder with the correct refraction, because even though the glass is about a centimeter thick as shown above, the fluid appears correctly.
Geometry file: beermug.rib
Applying DISPLACEMENT ON TOP OF DISPLACEMENT
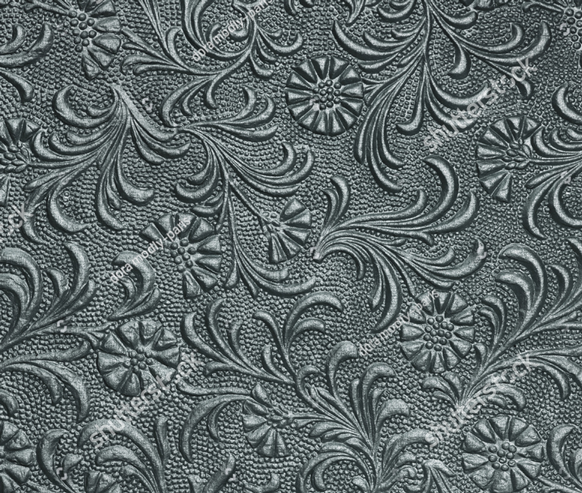
The next step was to apply a texturemap to the glass to give the appearance of a pewter coat of arms. This presented a couple of problems.
1) The first was how to apply a displacement map to an object that already had a displacement map.
2) The second was how to apply a transparency in combination with the displacement map to cut out the unwanted areas.
To add displacement to displacement I used a PxrSeExpr node to add the two together with some functionality built in for more control.
ADDING TRANSPARENCY to the displacement map

To cut out the black areas and leave the coat of arms I used another another PxrSeExpr which averages out the color inputs RGB and then sets a threshold input based on the brightness value. If the value is greater than the input value, the expression will produce a 1 to show the color, if not, it will produce a zero which will show nothing, effectively cutting out all areas below that value. Here, I also added a manifold 2D to control the scale and orientation of the texturemap.
PxrSeExpr used:
["\
gray = (colorInput1[0] + colorInput1[1] + colorInput1[2])/3;\
resultF = (gray >= floatInput1) ? 1 : 0;\
resultF\
"]
PxrSeExpr used:
["\
gray = (colorInput1[0] + colorInput1[1] + colorInput1[2])/3;\
resultF = (gray >= floatInput1) ? 1 : 0;\
resultF\
"]
Shading Group beermug_shading_group.rib
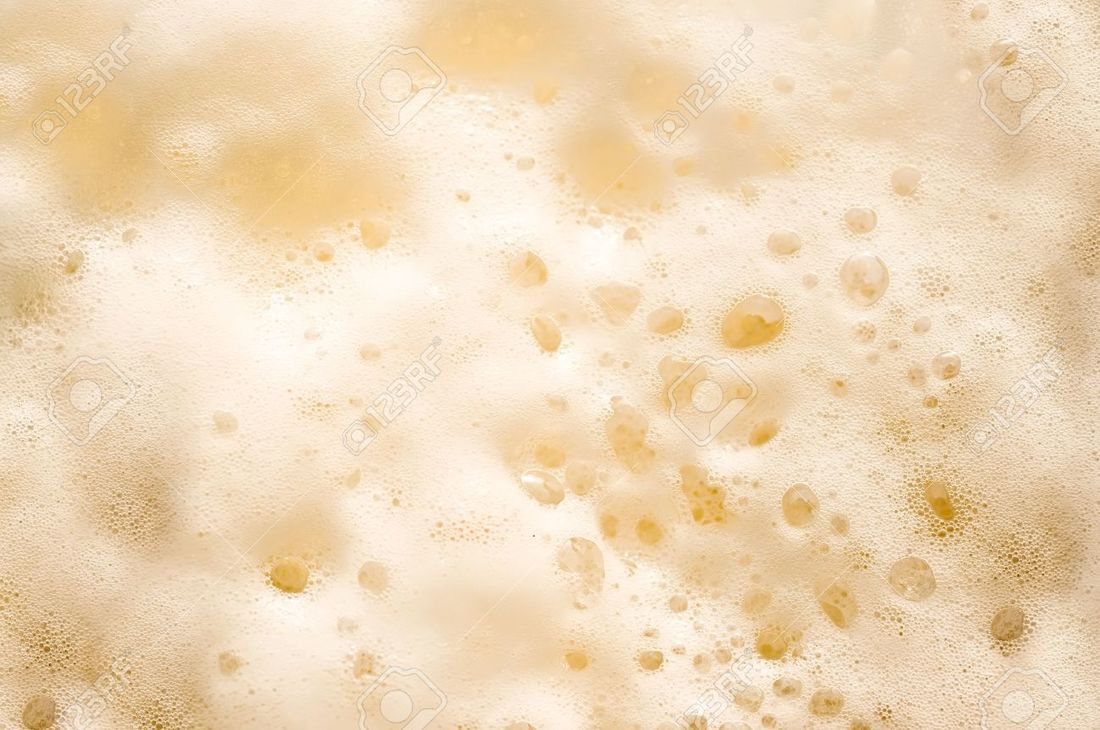
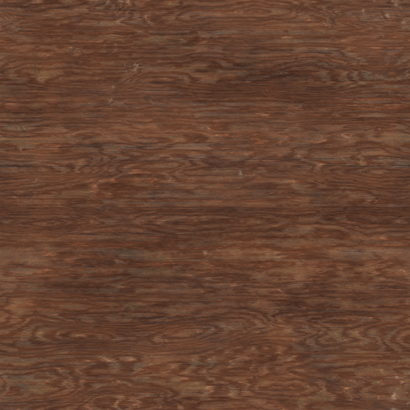
scene TEXTURES

ISSUES AND CritiQUE
Multiple issues were encountered while working on this shot. The first major problem was the appearance of a seam in the back of the main cylinder shape and disfiguration of the surrounding area. This was partially resolved by using the clamp parameter when converting the tif file to .tex with txmaker. Other issues included banding or stepping artifacts on the displaced surfaces. This was minimized by increasing the displacement blur on the pxrdisplacement node.
The next issue was with the coat of arms. Parts of the texture (particularly the bottom area) were dipping under the surface of the glass. This required a lot changes balancing the size of the the cylinder containing the texturemap and the underlying glass surface, as well as playing with the displacement settings for all. In the end I realized that part of the problem was that initially, I transformed the coat of arms surface to center the texture, but because the coat of arms surface had the same underlying displacement as the glass it no longer matched the contours of the glass surface causing the intersection. This was corrected by using the 2D Manifold to correct the positioning instead.
There were also some popping issues with the textures that are unresolved. It was causing some sections of the surface to disappear and reappear randomly, and the scale of the issue was not evident until reviewing some of the final renders. At first I thought that it had to do with intersecting displaced surfaces, but it occurs in areas that are not overlapping. Additional investigation revealed the issue was related to the displacement bound parameter being smaller than the displacement amount in some areas, and had since been corrected
SUMMARY AND CONCLUSIONS
I found working on this shot to be both challenging and rewarding. Learning to code a scene from a text editor gave me valuable insight into what is really going on under the hood in 3D packages such as Maya and Houdini. I believe it greatly enhanced my understanding of both the 3D coordinate system and how rendering in general works. I also found it in a lot of cases to be an extremely efficient workflow. Rather than clicking through endless tabs menus and sub menus as with many 3D packages, it was rewarding to work directly with the underlying parameters. It was also very interesting to compare how the shading groups and references work compared to the node connections in Hypershade and Houdini, and how you can take the same parameters from the Maya presets and utilize those settings in the text format with similar results.
TextureMap: I was not completely happy with the texturemap for the coat of arms because there were some flat areas apparent and other brighter areas stuck out too far. I attempted to remap the values from 0-1 to -1 - 1 but I do not think it was linked correctly because it did not correct the issues. Also The texture map I used was of low quality but since it was on a black background I thought it would be easier to remove background, which it was. Next time I would find a higher quality map and spend more time painting out the background in photoshop. I feel that this would have resulted in a much more realistic effect.
I really wish I had more time to create a more detailed scene. In particular I would have liked to have more detail on the background beer glasses and have the camera dolly through them as it approached the hero mug. I would also have liked to have added more scene props, such as a pretzel and various other props. I plan to keep refining this shot to ensure that it is demo reel quality.